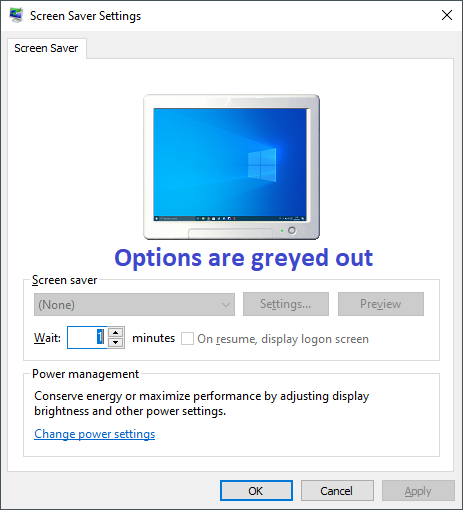
Fix Screen saver settings greyed out in Windows 10 Overview: If you are trying to set a screen saver on your computer, but the Screen saver settings are greyed out in Windows 10, then this post will show you how to fix it.
If you are facing this problem you might not be able to set any screens saver, preview the screen saver, and make other changes related to screen saver. Try our solutions to fix it.
If you have multiple user accounts and someone has disabled a particular setting in Group Policy Editor, you might not be able to use the Screen Saver settings window. Therefore, you need to revert the change to get the options working again.
TIP: See this post if Screensaver is not working.
Screen Saver Settings Greyed out in Windows 10
To fix the screen saver settings greying out the problem in Windows 10, follow these steps exactly:
- Open Local Group Policy Editor
- Search for Enable screen saver setting
- Enable it or set it to Not configured
These steps are mentioned below.
Open the Local Group Policy Editor on your computer. For that, you can press Win+R, type gpedit.msc, and hit the Enter button. Alternatively, you can search “group policy editor” in the Taskbar search box, and click the respective search result.
After opening the Local Group Policy Editor, you need to navigate to this path:
User Configuration > Administrative Templates > Control Panel > Personalization
After clicking the Personalization folder, you will find Enable screen saver settings on your right-hand side. You need to double-click on this setting to make the change.
By default, it should be set to Not Configured. As your Screen Saver Settings window’s options are already greyed out, you may find it set to Disabled. Also, you may notice your notepad missing so follow the steps to reinstall notepad after finishing the grey screen error.
You need to select either Not Configured or Enabled from the list and click the Apply and OK buttons.
If the above-mentioned change doesn’t work, you need to check the Password protect the screen saver setting too. In this case, make sure Not Configured is selected. If not, choose this option and save the change.
Reach out to us in case this does not work. You can reach us at the contact us page.

